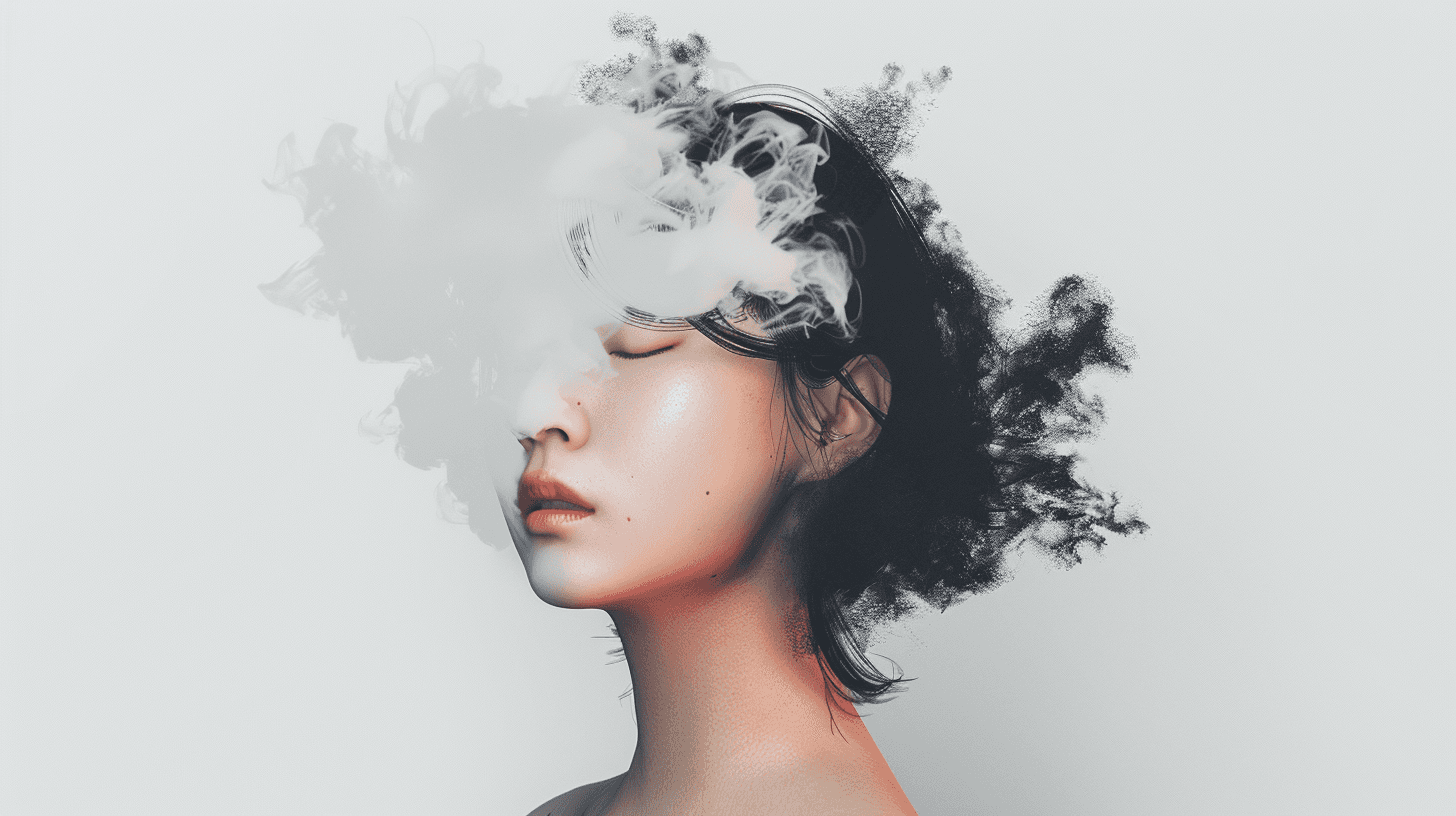
From Concept to Creation: Transforming Ideas into AI Art
Date Published:
June 17, 2024
Time Read:
7 Min Read
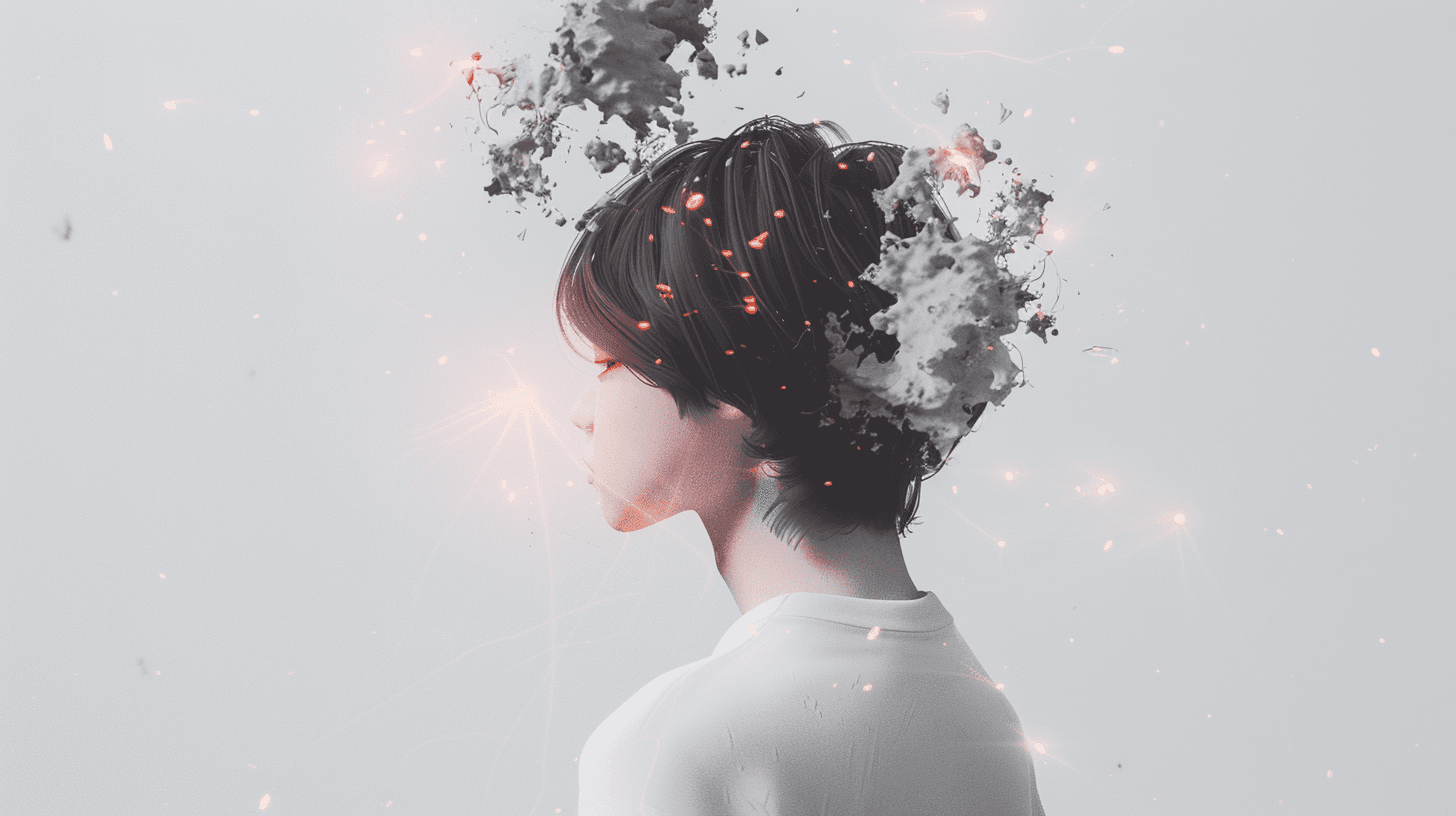
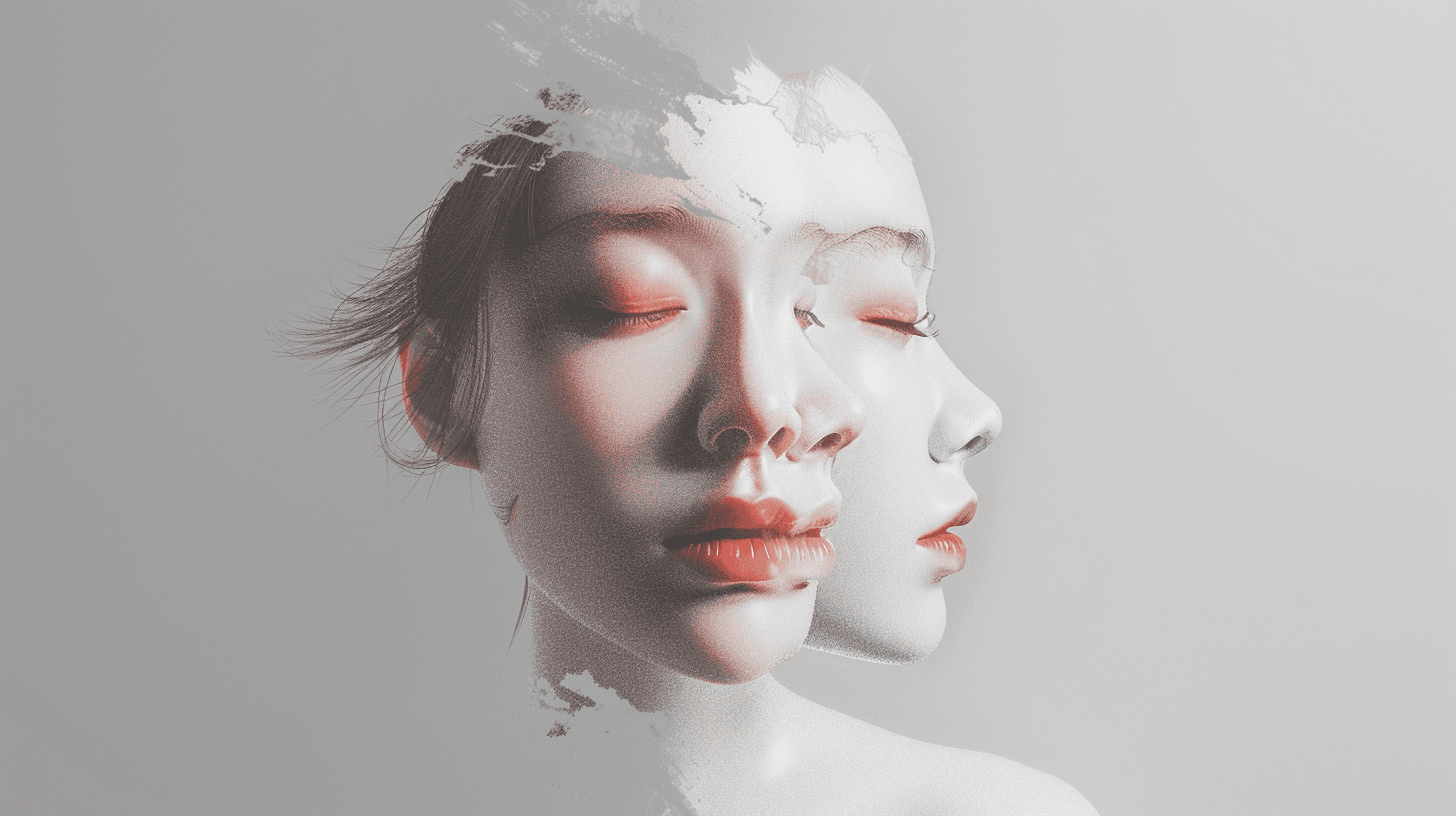
Welcome back to my blog! I'm Arunika Atisha, an AI artist passionate about blending creativity with cutting-edge technology. In this post, I’m excited to walk you through the process of transforming abstract concepts into stunning AI-generated artworks. Join me as I share how an idea evolves from a simple thought to a fully realized digital masterpiece.
Step 1: Ideation
The journey begins with ideation. This is where I gather inspiration from various sources such as nature, emotions, literature, and everyday life. I let my imagination roam free and brainstorm ideas that resonate with me. Sometimes, a single word or a fleeting emotion can spark an entire concept. For instance, the feeling of serenity inspired me to create a peaceful landscape.
Step 2: Defining the Concept
Once I have a general idea, I define the concept in more detail. This involves thinking about the elements, colors, mood, and overall composition. For my serene landscape, I envisioned a tranquil forest with a gentle river flowing through it, bathed in the soft light of dawn. I focus on how I want viewers to feel when they see the artwork—calm, peaceful, and reflective.
Step 3: Crafting the Prompt
With a clear concept in mind, I move on to crafting the prompt. This step is crucial as the prompt guides the AI in generating the image. I strive to be as detailed and specific as possible. For example, my prompt might be: "A tranquil forest at dawn with a gentle river flowing through it. The soft rays of sunlight filter through the dense canopy, casting a golden glow on the lush green foliage. The atmosphere is peaceful and serene, evoking a sense of calm and reflection."
Step 4: Choosing the AI Tool
Next, I select the AI tool that best suits my project. Midjourney is my go-to for highly customizable outputs, while DALL-E 2 excels in creating imaginative and detailed images. Each tool has its strengths, and I choose based on the desired style and complexity of the artwork.
Step 5: Generating Initial Images
I input my crafted prompt into the chosen AI tool and generate initial images. This is an exciting step as it’s the first visual representation of my concept. I usually generate several versions to explore different interpretations and possibilities.
Step 6: Reviewing and Refining
After generating the initial images, I review them critically. I look for elements that align with my vision and note areas that need improvement. Maybe the lighting needs adjustment, or the composition isn’t quite right. I refine my prompt, adding more details or tweaking existing ones, and generate new images. This iterative process continues until I achieve a result that closely matches my original concept.
Step 7: Adding Final Touches
Once I’m satisfied with the AI-generated image, I make final adjustments using digital editing software. Enhancing colors, adjusting contrasts, and adding small details help to perfect the image. These finishing touches ensure that the artwork meets my artistic standards and fully realizes my initial vision.
Step 8: Sharing the Artwork
The final step is sharing my creation with the world. I upload the finished piece to my portfolio, social media, and blog, often accompanied by a brief description or the story behind the artwork. Engaging with my audience and receiving their feedback is one of the most rewarding parts of the process.
Conclusion
Transforming an idea into a stunning piece of AI art is a journey filled with creativity, experimentation, and refinement. Each step, from ideation to final touches, plays a crucial role in bringing my vision to life. I hope this behind-the-scenes look at my process inspires you to explore the incredible possibilities of AI art and embark on your own creative adventures.
Thank you for joining me on this journey! Stay tuned for more insights, tips, and stories from the world of AI art. And don’t forget to subscribe to my newsletter for daily updates and exclusive content!
Related Resource
Previous Resource
More Resource
From Concept to Creation: Transforming Ideas into AI Art
Date Published:
June 17, 2024
Time Read:
7 Min Read
Welcome back to my blog! I'm Arunika Atisha, an AI artist passionate about blending creativity with cutting-edge technology. In this post, I’m excited to walk you through the process of transforming abstract concepts into stunning AI-generated artworks. Join me as I share how an idea evolves from a simple thought to a fully realized digital masterpiece.
Step 1: Ideation
The journey begins with ideation. This is where I gather inspiration from various sources such as nature, emotions, literature, and everyday life. I let my imagination roam free and brainstorm ideas that resonate with me. Sometimes, a single word or a fleeting emotion can spark an entire concept. For instance, the feeling of serenity inspired me to create a peaceful landscape.
Step 2: Defining the Concept
Once I have a general idea, I define the concept in more detail. This involves thinking about the elements, colors, mood, and overall composition. For my serene landscape, I envisioned a tranquil forest with a gentle river flowing through it, bathed in the soft light of dawn. I focus on how I want viewers to feel when they see the artwork—calm, peaceful, and reflective.
Step 3: Crafting the Prompt
With a clear concept in mind, I move on to crafting the prompt. This step is crucial as the prompt guides the AI in generating the image. I strive to be as detailed and specific as possible. For example, my prompt might be: "A tranquil forest at dawn with a gentle river flowing through it. The soft rays of sunlight filter through the dense canopy, casting a golden glow on the lush green foliage. The atmosphere is peaceful and serene, evoking a sense of calm and reflection."
Step 4: Choosing the AI Tool
Next, I select the AI tool that best suits my project. Midjourney is my go-to for highly customizable outputs, while DALL-E 2 excels in creating imaginative and detailed images. Each tool has its strengths, and I choose based on the desired style and complexity of the artwork.
Step 5: Generating Initial Images
I input my crafted prompt into the chosen AI tool and generate initial images. This is an exciting step as it’s the first visual representation of my concept. I usually generate several versions to explore different interpretations and possibilities.
Step 6: Reviewing and Refining
After generating the initial images, I review them critically. I look for elements that align with my vision and note areas that need improvement. Maybe the lighting needs adjustment, or the composition isn’t quite right. I refine my prompt, adding more details or tweaking existing ones, and generate new images. This iterative process continues until I achieve a result that closely matches my original concept.
Step 7: Adding Final Touches
Once I’m satisfied with the AI-generated image, I make final adjustments using digital editing software. Enhancing colors, adjusting contrasts, and adding small details help to perfect the image. These finishing touches ensure that the artwork meets my artistic standards and fully realizes my initial vision.
Step 8: Sharing the Artwork
The final step is sharing my creation with the world. I upload the finished piece to my portfolio, social media, and blog, often accompanied by a brief description or the story behind the artwork. Engaging with my audience and receiving their feedback is one of the most rewarding parts of the process.
Conclusion
Transforming an idea into a stunning piece of AI art is a journey filled with creativity, experimentation, and refinement. Each step, from ideation to final touches, plays a crucial role in bringing my vision to life. I hope this behind-the-scenes look at my process inspires you to explore the incredible possibilities of AI art and embark on your own creative adventures.
Thank you for joining me on this journey! Stay tuned for more insights, tips, and stories from the world of AI art. And don’t forget to subscribe to my newsletter for daily updates and exclusive content!